
Dr. Fabio Sasahara
The Highway Capacity Manual provides a comprehensive segmentation framework for freeway analyses. In a facility comprised of multiple segments (basic, merge, diverge and weaving), this framework lists a series of rules on how to determine segment boundaries based on geometric features.
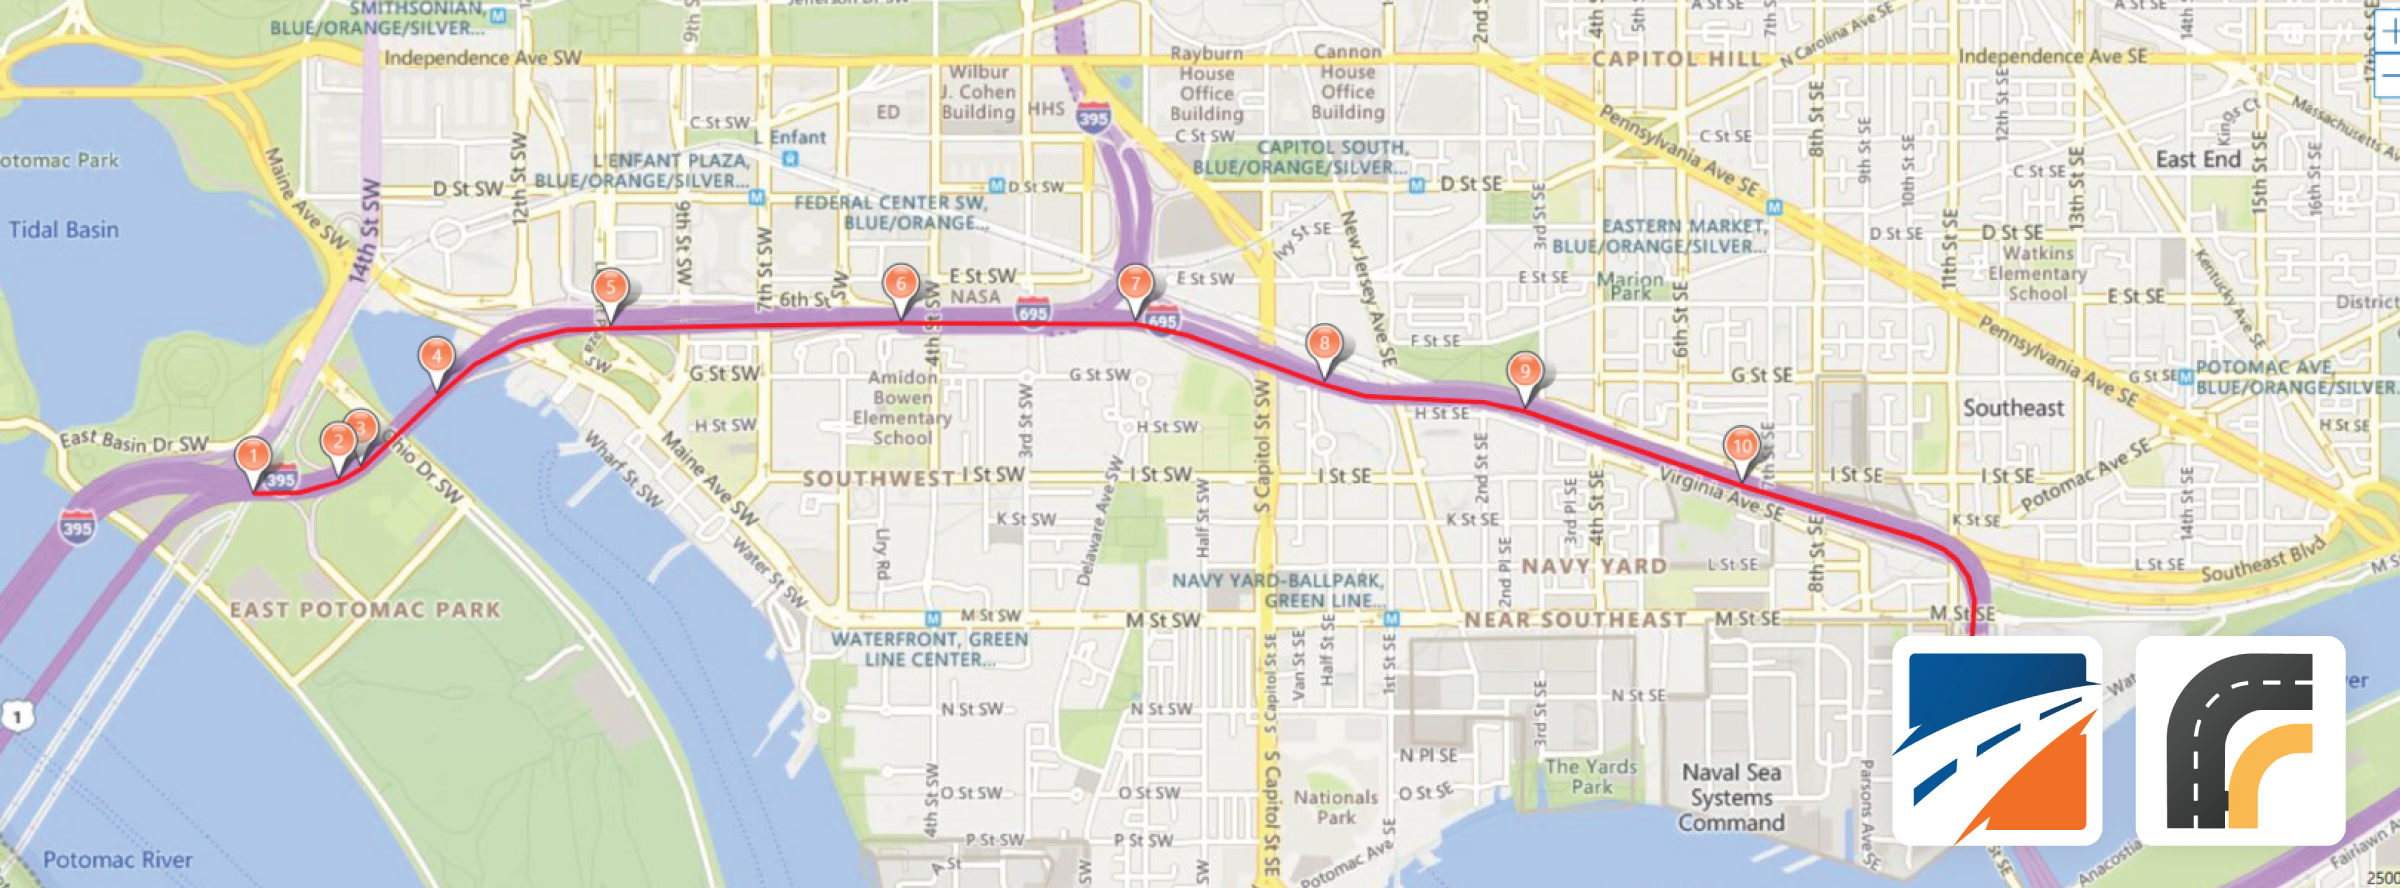
Starting in 2023, the Highway Capacity Software (HCS) now offers a map-based tool where users can easily model long stretches of freeway facilities by placing junction nodes on top of a map. Then, the software automatically calculates all applicable lengths and applies HCM principles for freeway segmentation for a smooth modeling process.
This article discusses some tips and best practices for extracting the best of the map segmentation tool for your studies.
1. Take advantage of Bing Maps search engine
HCS’ mapping feature is based on Bing Maps engine. You can use any approach you would use with Bings to quickly find your facility, such as a geographic location, a pair of coordinates or a certain landmark:

2. Use aerial view
The HCM segmentation framework relies heavily on pavement markings are the most straightforward way to locate segment boundaries per the HCM segmentation framework, including gore points for merge/diverge or solid-dashed line boundaries for weaving segments. The aerial view option is an efficient way to easily locate those points in the map to place ramp nodes.

3. Place nodes in the freeway centerline, not ramps
The network architecture computes each segment length as the travel distance between two nodes placed in the map, as driven by a vehicle on the road. If a node is misplaced in a ramp roadway instead of the freeway, the distance is computed as if the driver needs to drive a long way through the ramp to get back to the freeway. If this happens, you can quickly fix it by dragging the misplaced node to the correct location.


4. Take advantage of the automatic weaving modeling
A freeway section is modeled automatically a weaving segment in the HCS segmentation tool when the following conditions are met during the segmentation process:
- A freeway section has an upstream on-ramp and a downstream off-ramp, AND
- The number of lanes in the subject section is one greater than the upstream and downstream sections

5. Insert nodes in the middle of the facility if needed
Finished your modeling and realized one ramp was missing? Not a problem! If you need to insert a new node in the middle of the facility, simply right click an existing node and select “Insert node after current node”. Just keep in mind that the new node will be created as a “general node”, so change it to an on-ramp or off-ramp type if needed, then place it on the desired location.